


Are you tired of the never-ending battle with unwanted body hair? Shaving, waxing, and plucking can be time-consuming and often provide only short-term relief. If you’ve been longing for a more effective and long-lasting solution, DIY laser hair removal might be the answer you’ve been seeking.
In recent years, the beauty and personal grooming world has witnessed a significant shift towards at-home laser hair removal devices. These innovative gadgets empower you to achieve silky-smooth skin from the comfort of your own home. Say goodbye to salon appointments and hello to the convenience of DIY laser hair removal.
In this comprehensive guide, we’ll delve deep into DIY laser hair removal, exploring how it works, its myriad benefits, and everything you need to know to embark on this journey towards smoother, hair-free skin.
How Does DIY Laser Hair Removal Work?
DIY laser hair removal operates on a simple yet effective principle. It harnesses the power of laser technology to target hair follicles, ultimately hindering their ability to produce new hair. Here’s a breakdown of how it works:
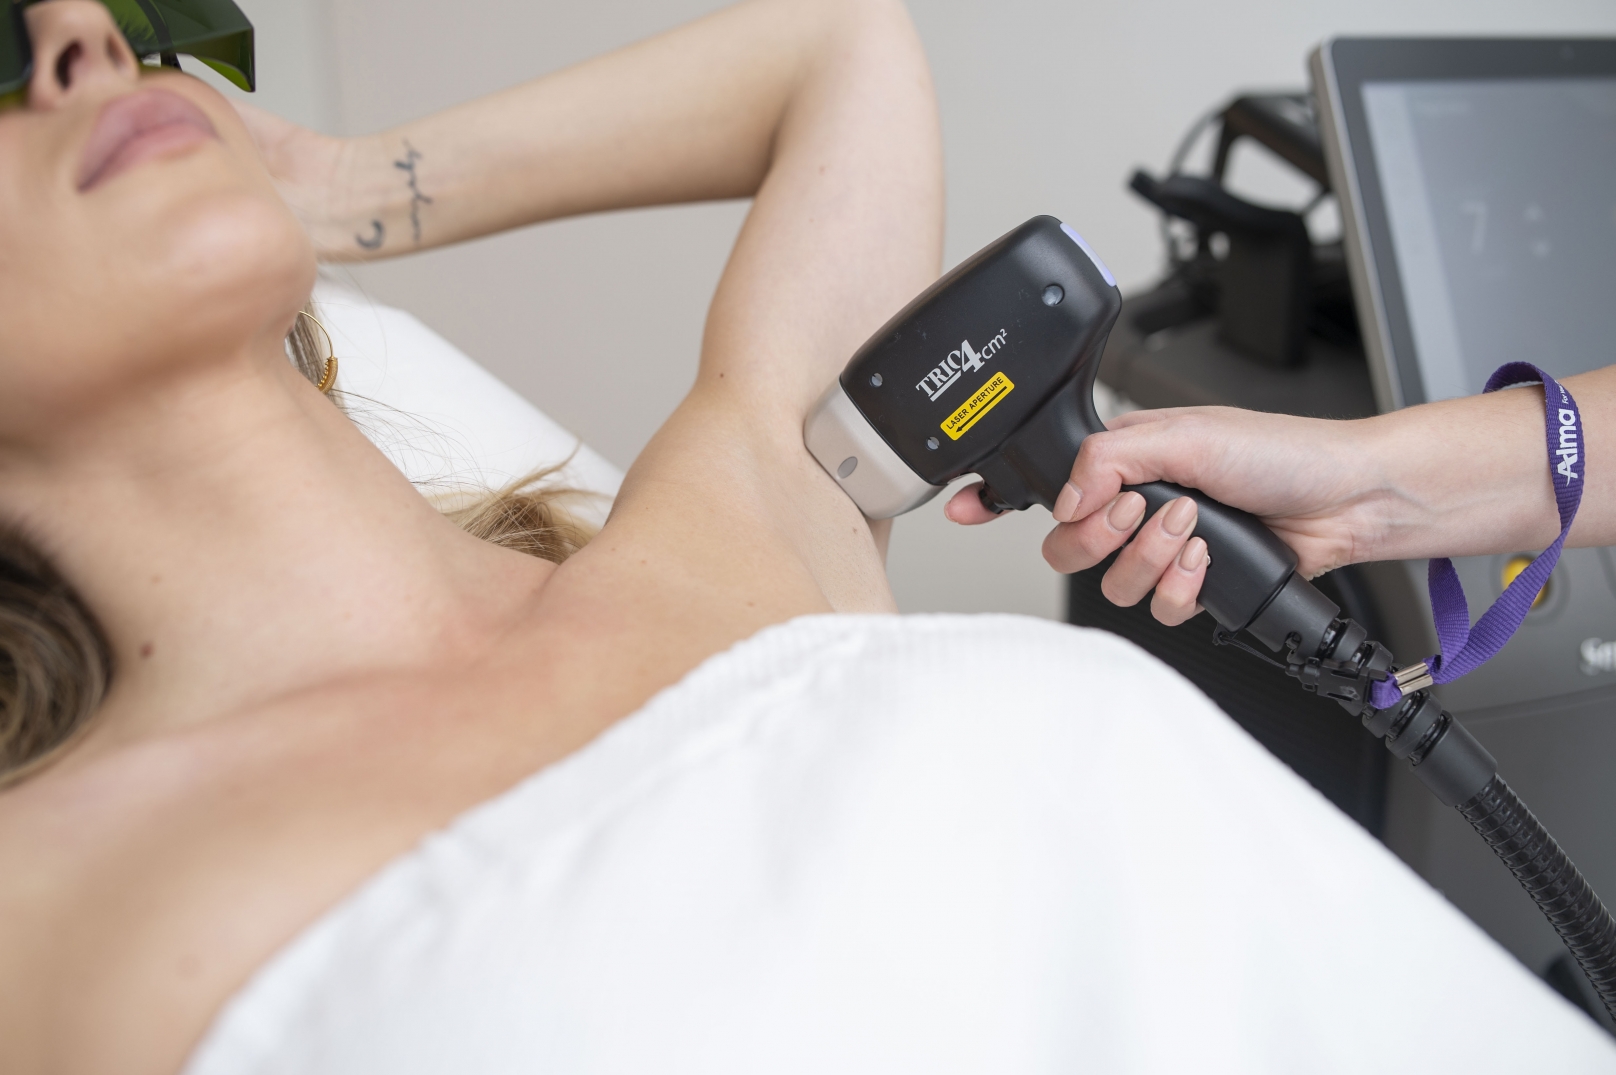
Laser Energy: At-home devices utilise diode lasers or intense pulsed light (IPL) to focus energy on the melanin (pigment) in your hair follicles. This energy is selectively absorbed by the hair, heating the follicle.
Follicle Damage: The heat damages the hair follicle, rendering it less capable of producing new hair. Over time, this process results in a noticeable reduction in hair growth.
The Science Behind Laser Hair Removal
The key to the effectiveness of laser hair removal lies in targeting melanin, the pigment responsible for hair colour. Since the laser energy is attracted to melanin, it works best on individuals with light skin and dark hair. However, technological advancements have made it increasingly safe and effective for a broader range of skin tones and hair colours.
Advantages of Going the DIY Route
Convenience: Your Schedule, Your Terms
One of the most significant advantages of DIY laser hair removal is its flexibility. Unlike salon appointments that require you to adhere to their schedule, DIY treatments allow you to choose when and where to perform the sessions. The power is in your hands, whether early or late at night.
Cost-Effective: Saving You Time and Money
While the initial investment in a quality at-home laser device might seem substantial, it’s essential to consider the long-term savings. Salon treatments often require multiple sessions, and the costs can significantly increase. With DIY laser hair removal, you make a one-time investment that pays off in the form of lasting results.
Privacy: Your Home, Your Rules
Some individuals find exposing themselves in a salon setting uncomfortable or intimidating. DIY laser hair removal eliminates this concern by allowing you to perform the treatment in the privacy and comfort of your home—no need to worry about prying eyes or awkward encounters.
Long-Term Results: Goodbye Frequent Maintenance
Unlike shaving, waxing, or plucking, which offer temporary solutions and require frequent maintenance, DIY laser hair removal provides gradual and long-lasting results. You’ll notice a significant reduction in hair growth over time, which means fewer touch-ups and more time enjoying your smooth skin.
Choosing the Right DIY Laser Device
Skin Tone and Hair Color Compatibility
When selecting an at-home laser hair removal device, it’s crucial to consider your skin tone and hair colour. In the past, these devices were most influential on individuals with light skin and dark hair due to the contrast that allowed the laser to target the hair follicles accurately. However, advancements have expanded the range of suitable candidates.
Reading User Reviews: Real-World Insights
Before making your final decision, take the time to read user reviews and testimonials. Real-world experiences can provide valuable insights into specific devices’ effectiveness, ease of use, and potential drawbacks. Hearing from those who have already embarked on the DIY laser hair removal journey can help you make an informed choice.
Preparing Your Skin for DIY Treatment
The Importance of Proper Pre-Treatment
Preparing your skin before a DIY laser hair removal session is essential for optimal results. Proper pre-treatment ensures that the hair follicles effectively absorb the laser energy, maximising the reduction in hair growth.
Shaving: A Crucial Step for Optimal Results
One of the primary pre-treatment steps is shaving the area you intend to treat. Shaving removes the hair above the skin’s surface, allowing the laser energy to focus on the hair follicles beneath the skin. Skipping this step can result in less effective treatment and discomfort during the session.
Using Your DIY Laser Device: Step-by-Step
Safety First: Understanding Device Precautions
Before you begin your DIY laser hair removal journey, familiarising yourself with device-specific safety precautions is essential. While these precautions may vary from one device to another, they are designed to ensure your safety during treatment.
Step 1: Reading the User Manual
The user manual that comes with your device is your comprehensive guide to safe and effective use. It provides essential information about device settings, recommended skin and hair types, and step-by-step instructions for each session. Take the time to read and understand the manual thoroughly.
Step 2: Patch Test for Sensitivity
To ensure that your skin reacts well to the treatment, performing a patch test on a small, inconspicuous area is advisable. This allows you to gauge your skin’s sensitivity to the laser and adjust the device’s intensity.
Step 3: Setting the Right Intensity
Once you’ve determined your skin’s tolerance during the patch test, you can set the laser intensity accordingly. Start with a lower intensity level and gradually increase it as you become more comfortable with the treatment.
Step 4: Treating the Target Area
With the right settings, you can begin the treatment in your chosen area. Follow the device’s guidelines for the appropriate number of pulses or flashes per session. Be systematic and ensure you cover the entire area evenly.
Step 5: Post-Treatment Care
After each session, it’s crucial to follow recommended post-treatment care instructions. This typically involves applying a soothing cream or gel to the treated area and avoiding sun exposure to prevent skin irritation.
Monitoring Progress and Managing Expectations
Tracking Your Progress: What to Expect
It’s natural to be eager to see results, but it’s essential to understand that DIY laser hair removal offers a gradual reduction in hair growth. Most individuals notice a difference after a few sessions, with more significant results visible over several weeks.
The Gradual Reduction in Hair Growth
As you continue your sessions, you’ll find that hair regrowth becomes finer and sparser. The need for frequent maintenance decreases, and you can enjoy long-lasting smoothness. Managing your expectations and staying consistent with your treatments are key to achieving the best results.
FAQs (Frequently Asked Questions)
- Q1: Is DIY laser hair removal safe for all skin types?
- DIY laser hair removal has become increasingly safe for many skin tones thanks to technological advancements. However, it’s essential to check the specifications of your chosen device and follow the recommended guidelines for your specific skin type.
- Q2: Does DIY laser hair removal hurt?
- Most users report feeling a slight tingling or warmth during the treatment, which is generally well-tolerated. Some devices also offer adjustable intensity levels, allowing you to customise the experience to your comfort level.
- Q3: How long does it take to see results?
- While results can vary from person to person, you can expect to notice a reduction in hair growth after a few sessions. Significant and lasting results typically become visible after consistent use over several weeks.
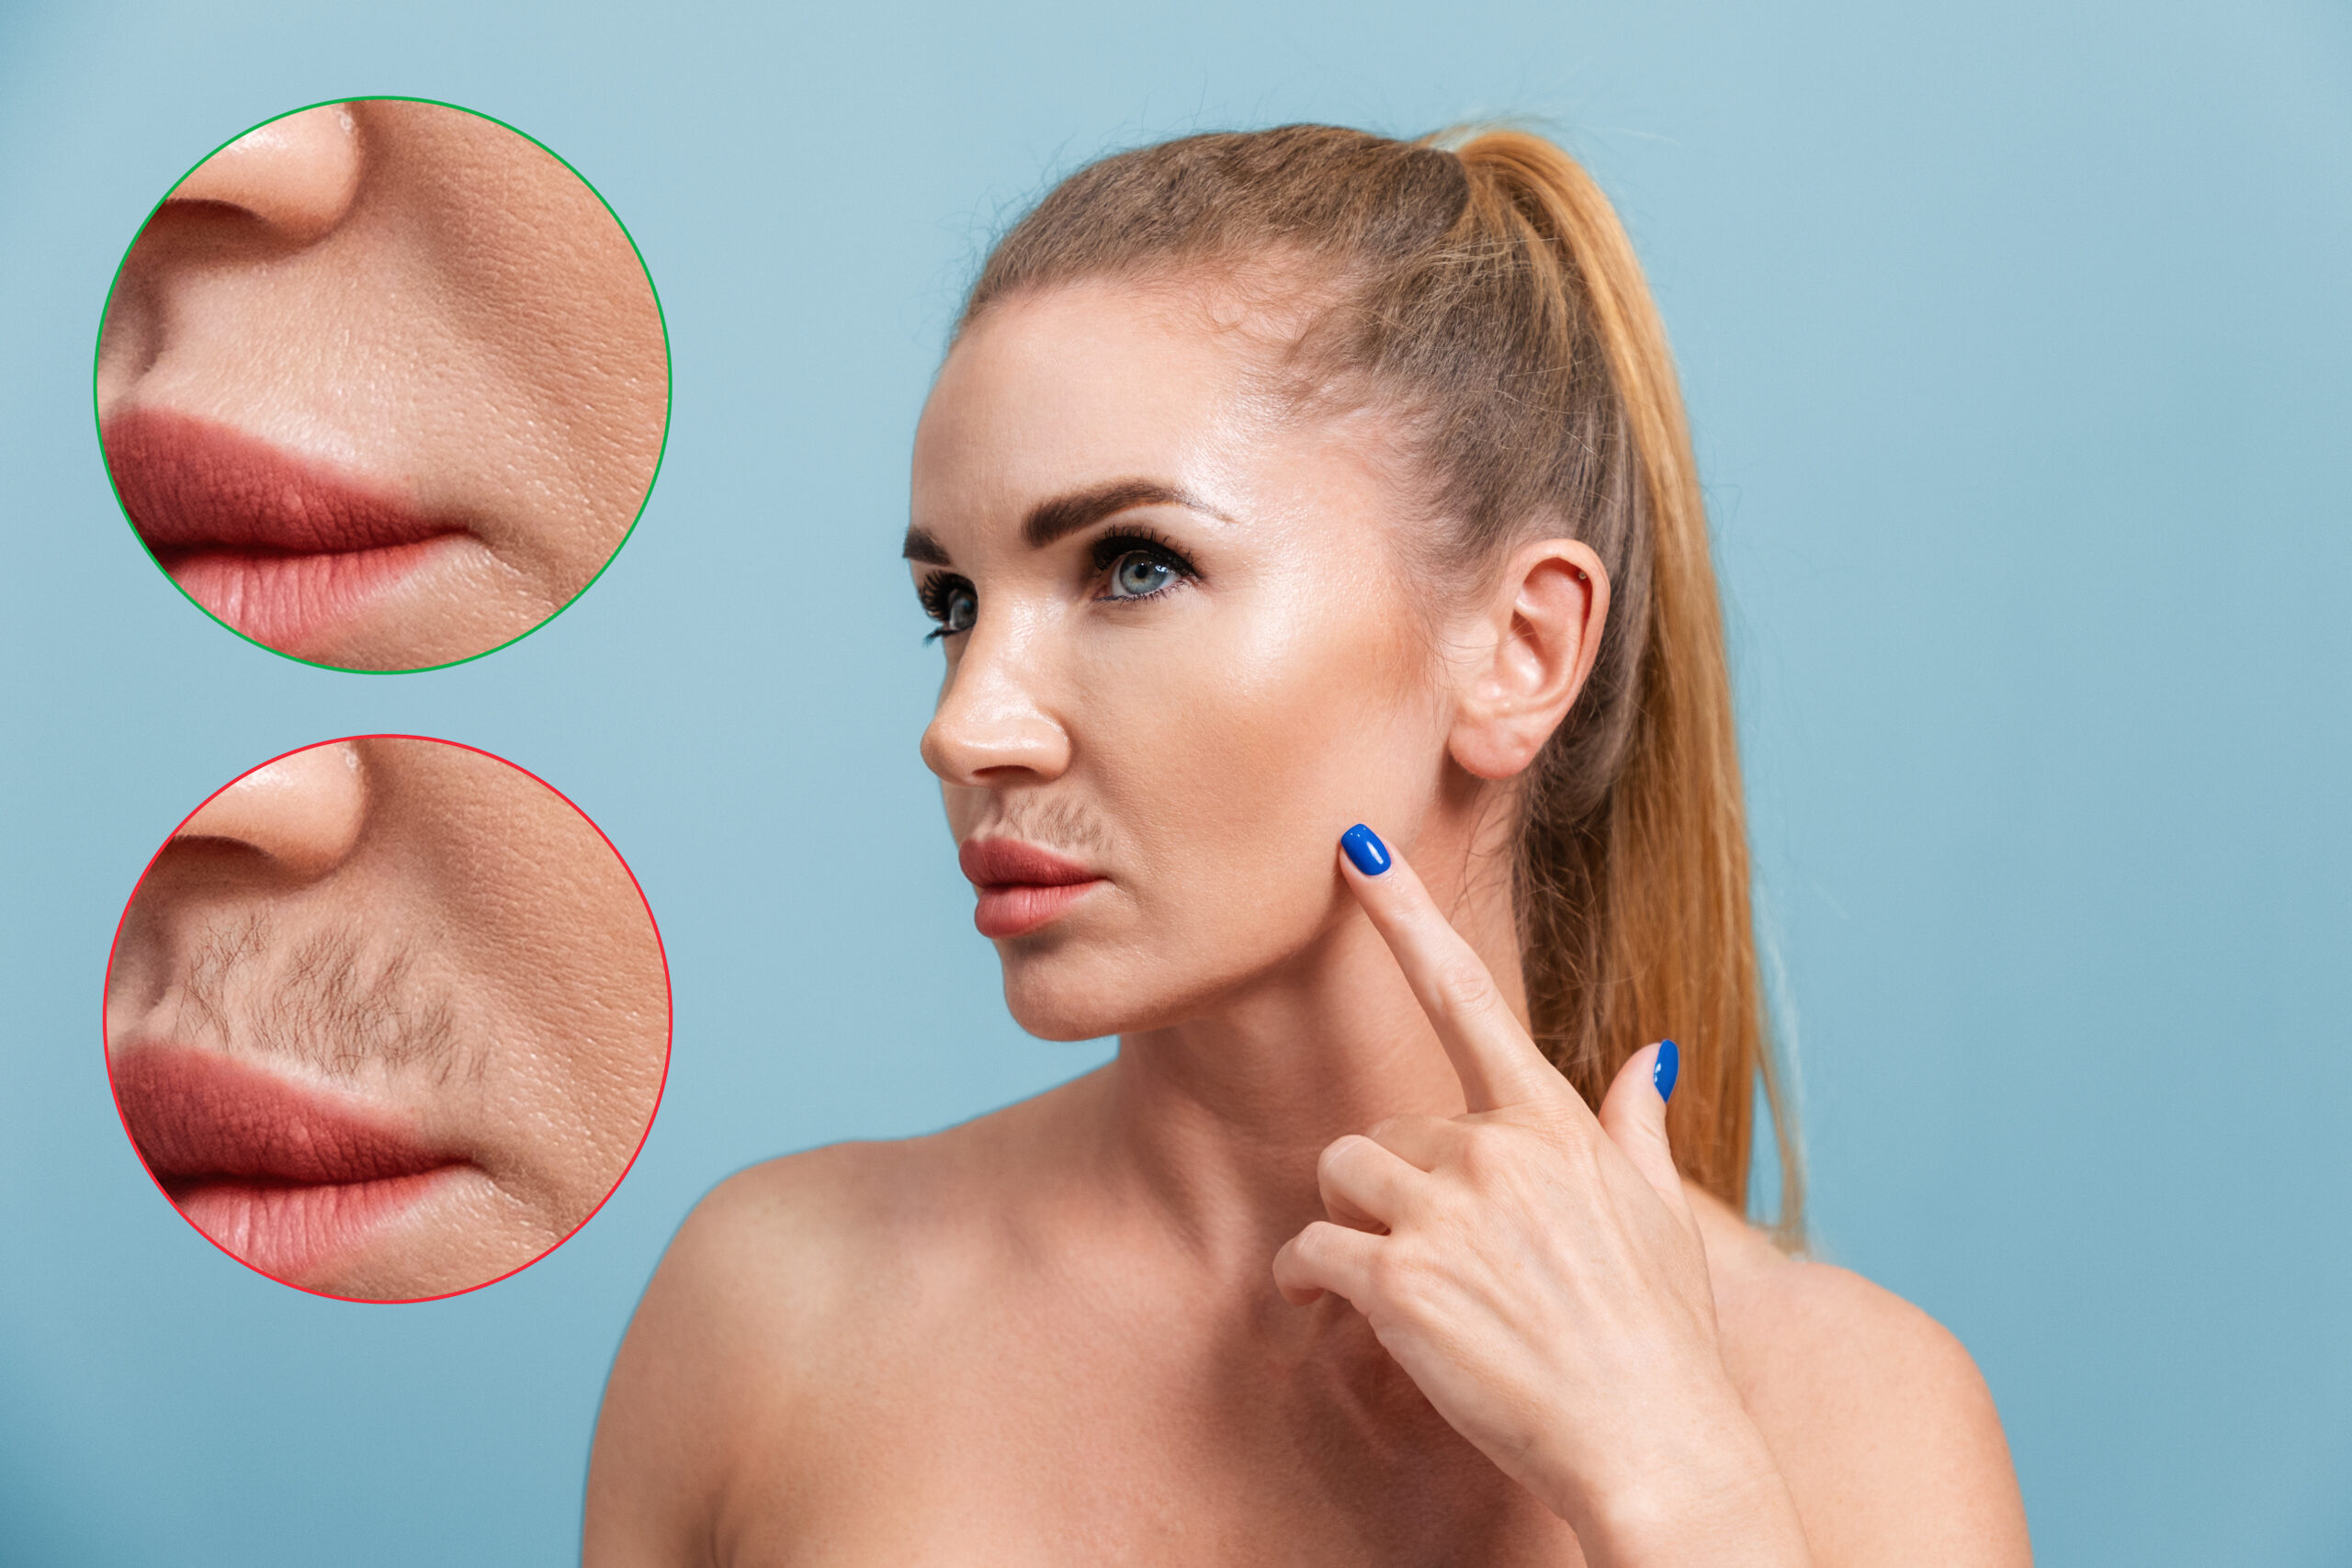
- Q4: Can DIY laser hair removal be used on facial hair?
- Yes, many at-home laser hair removal devices are safe for facial hair removal. However, it’s crucial to choose a device specifically designed for facial use and follow the recommended guidelines for this sensitive area.
- Q5: What should I do if I experience skin irritation after a session?
- If you experience skin irritation, such as redness or discomfort, after a session, applying a soothing cream or gel recommended by the device manufacturer is advisable. Avoid sun exposure and harsh skincare products in the treated area until the irritation subsides.
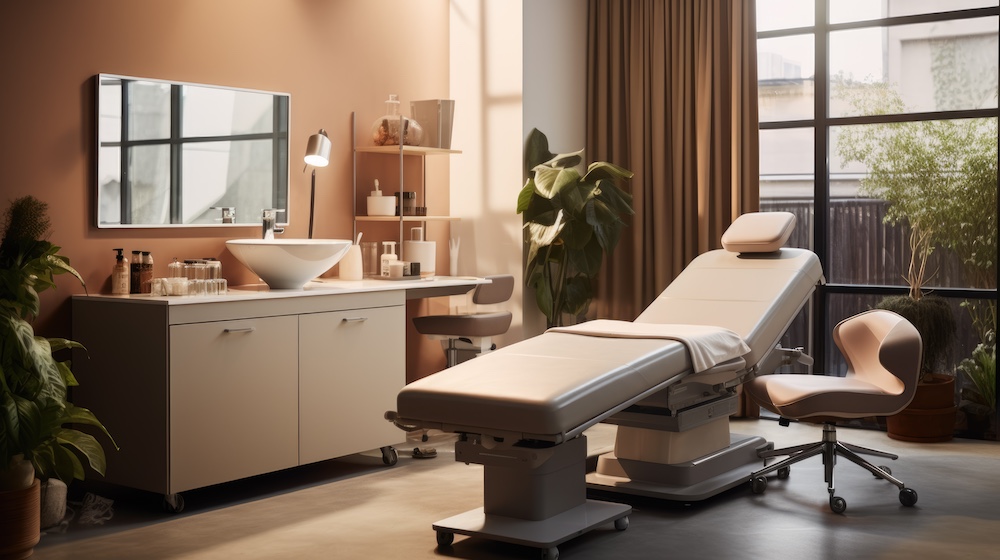
Extra Tip: Speed Up Results with Laser Treatments
If you’re uncomfortable with the DIY approach or looking for a more specialised treatment, consider visiting a trusted laser clinic. These clinics offer professional laser hair removal services delivered by trained technicians.
Going to a clinic can be an excellent option if you prefer the hands-on expertise of professionals who can customise the treatment to your needs and skin type. Moreover, it can be a fantastic alternative for treating larger areas or areas difficult to reach alone. So, whether you decide to go the DIY route or opt for a professional clinic, the choice is yours, and both paths can lead you to the smooth, hair-free skin you desire.
Conclusion
Embrace the freedom and efficacy of DIY laser hair removal as you bid farewell to the inconvenience of traditional hair removal methods. Achieving silky-smooth skin has never been more accessible and convenient. By following the guidelines and tips outlined in this guide, you’ll be well on your way to enjoying long-lasting results and the confidence that comes with it. Say hello to a smoother, hair-free you with DIY laser hair removal!